How often do you refresh your make up? Me- I am a creature of habit and get the same products over and over again. I think I’ve used the same make up for 15 years!lWhen I met Lindsay at the BlogherHealth conference in Los Angeles a few weeks ago, I loved hearing about her work in the beauty products world. I was excited to have her share how to apply makeup on over-40 women like me who like the more subtle look. Watch the video of her tutorial or read her step by step directions here. Enjoy! I can’t wait to try some of these products.
Full list below, but here are the ones I purchased for myself
Primer: Pur 4-in-1 correcting primer. Hydrate and balance
Brows: Maybelline Tattoo Studio Pomade (color deep brown)
Eyeliner: Maybelline Precise skinny liner (refined charcoal)
Blush: Tarte blush
Lip Stain: Anastasia Beverly Hills Liquid lipstick shade: Allison
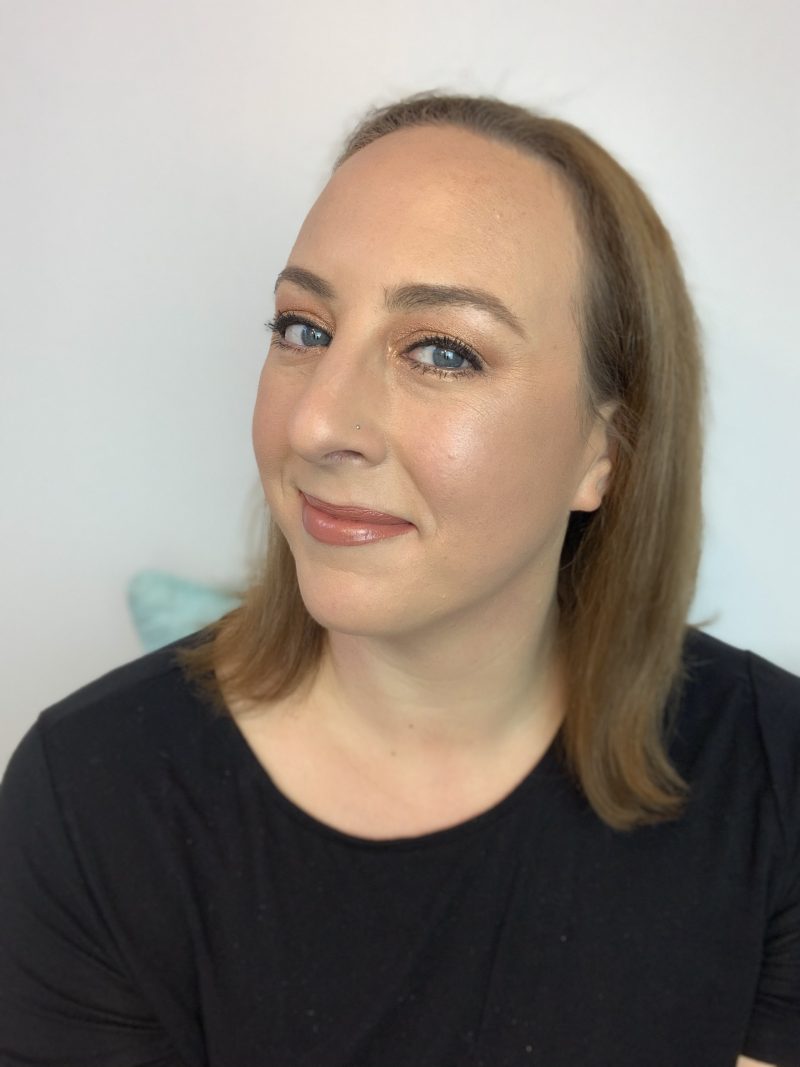
Make up for women over 40
I’m Lindsay Lewis, the gal behind the Beautystasis social medial channels, and the Beautystasis blog which focuses on women’s health, wellness, and of course a little dash of beauty!
The name Beautystasis comes from the idea that when homeostasis (aka total body health) is achieved, your true beauty shines.
Beauty is not defined by age, and certainly not only by exterior. Amplifying the natural beauty of one’s face can only enhance, and the following tutorial will give step by step instruction on how to achieve an extra bit of glow.
Follow these steps for an easy look that’s great for every day and can be transitioned to night effortlessly:
Face
Prep
- Before makeup is applied, make sure to prep your skin thoroughly. Cleanse and exfoliate the skin before applying a morning skincare routine of toner, serum, eye cream, moisturizer and sunscreen. Always sunscreen 🙂
- Just like adding gesso to a canvas before painting, start the makeup process first with primer, which helps to tighten pores and fill in fine lines.
Foundation
- Using a foundation brush or dampened beauty sponge, press a liquid foundation thoroughly onto the face and neck.
- Blending down the neck is important to create a seamless look.
Be mindful of clothing! I usually apply makeup in a robe, or tuck some tissue into the neckline of my shirt as a precaution.
Concealer
Conceal dark circles and blemishes next that aren’t covered by the foundation. Tip: if you find yourself adding concealer to your entire face, switch to a foundation with full coverage.
Set with Powder
- Set foundation and concealer with a loose translucent powder.
- Use a large powder brush starting at the jawline and working your way up.
- To prevent a “cakey” look, only one dip the brush into the powder once which is plenty of product for the face.
- Use a damp sponge press the powder under the eye, nose, and along the jawline as needed for a more flawless finish without the heavy look.
Eyes
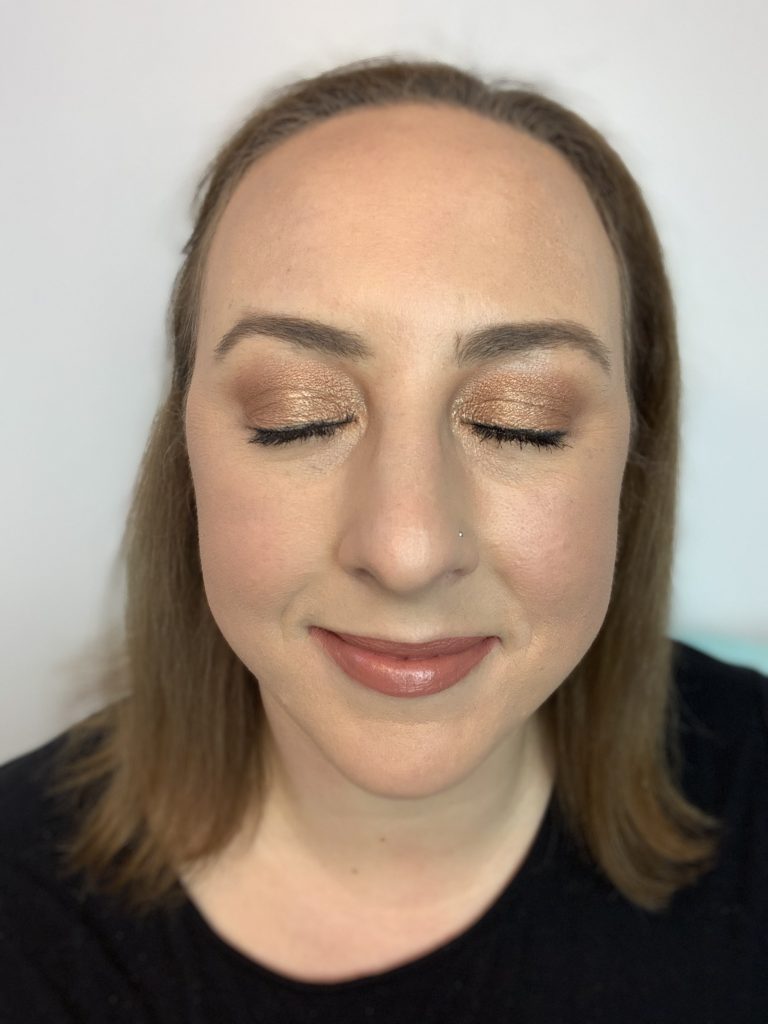
- Apply darker eyeshadow in the crease of the lid first, then use a lighter shade (matte or not, your choice!) along the lower lid and blend well!
- Eyeliner is important to help the eyes truly pop. If black is too much, or too bold, use brown or bronze for a more subtle look.
- Don’t forget to always curl the lashes before applying mascara. A natural curl helps the lashes appear longer, more full, and helps to open the eye a bit. This makes our eyes appear more awake and youthful.
- Fill in the brows by first creating an “outline” by drawing in top and bottom lines of the brows. Fill in with product then use a spooky brush (it will look like a mascara wand) to more evenly distribute product throughout the brow. Finish with a touch of highlighter on the brow bone if desired.
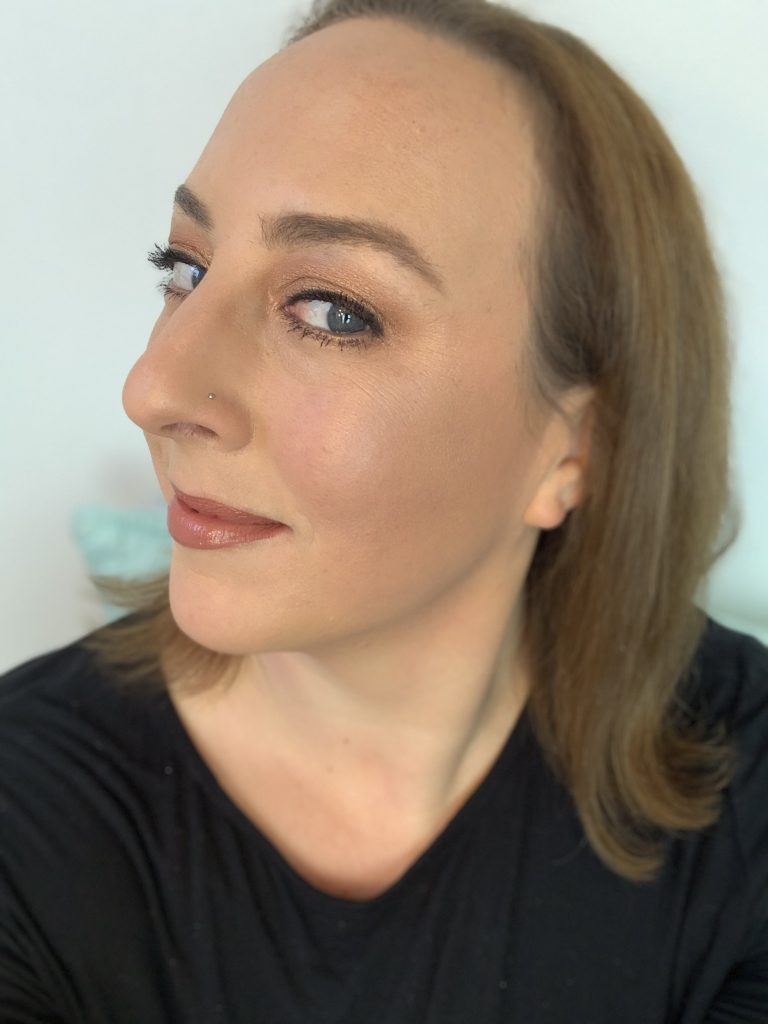
Contour
- Contour the face with bronzer. Make sure the color is complimentary to your skin tone, and not too muddy. Less is more in order to avoid having a face that simply looks dirty, and not defined.
- With your powder brush, draw a 3 shape using the bronzer by starting at your hairline in the forehead, swooping under the cheekbone, then swooping under the jawline. This is the 3 shape.
- Blush on the apples of the cheek add a natural flush that helps you to achieve a healthy glow. Be mindful not to go too heavy here. Less is more!
- Highlighter may be added down the nose, over the cupids bow (top of the upper lip), and under the outer corner of the eyes. This illuminates the face and helps your features to pop!
It’s important to blend blend blend! I sometimes add an extra bronzer very lightly over top to help blend the face products.
Lips
Finish the look with a lipstick of your choice. If a bold lip color is too much, especially for a daytime look, apply a tinted gloss or lip balm at the very least. Even the slightest color on the lips prevent you from looking washed out.
Try it
Although there may seem to be many steps to this process, I generally take about 5-10 minutes max to complete it. Stay true to who you are, use products you know and trust, and have fun!
If you have any questions, please message me on Facebook, Twitter, or Instagram at @Beautystasis. Make sure to follow me as well! If you’re on Tik Tok, I’m at @the.beautystasis.edit
Enjoy!
Products Used:*
Skin care: Soma Ayurveda Vitamin C Serum, Eye Gel, Moisturizer
Primer: Pur 4-in-1 correcting primer. Hydrate and balance
Foundation: NYX Total Control drop foundation
Concealer: NYX Can’t Stop Won’t Stop concealer
Setting Powder: Laura Mercier Translucent loose setting powder
Eye Shadow Pallet: Charlotte Tilbury Starry Eyes to Hypnotize
Brows: Maybelline Tattoo Studio Pomade
Eyeliner: Maybelline Precise skinny liner
Mascara: Milk Kush Mascara
Bronzer: Tarte Park Avenue Princess
Blush: Tarte blush in the shade Fiesty
Highlight: Laura Mercier– Highlight 01
Finishing Bronzer: Laura Mercier – Bronzer 04
Lip Stain: Anastasia Beverly Hills Liquid lipstick shade: Allison
Lip Gloss: The Lip Bar shade: Baddie
Tools:
Beauty Blender Sponge: Beauty Blender
Powder/Bronzer brush: IT Cosmetics
Large eyeshadow brush: Real Techniques
Eyelash Curler: Tweezerman
*affiliate links by Lindsay Lewis
I can’t wait to receive my new products and see how they work! I hope this gave you some inspo to refresh your make-up game!